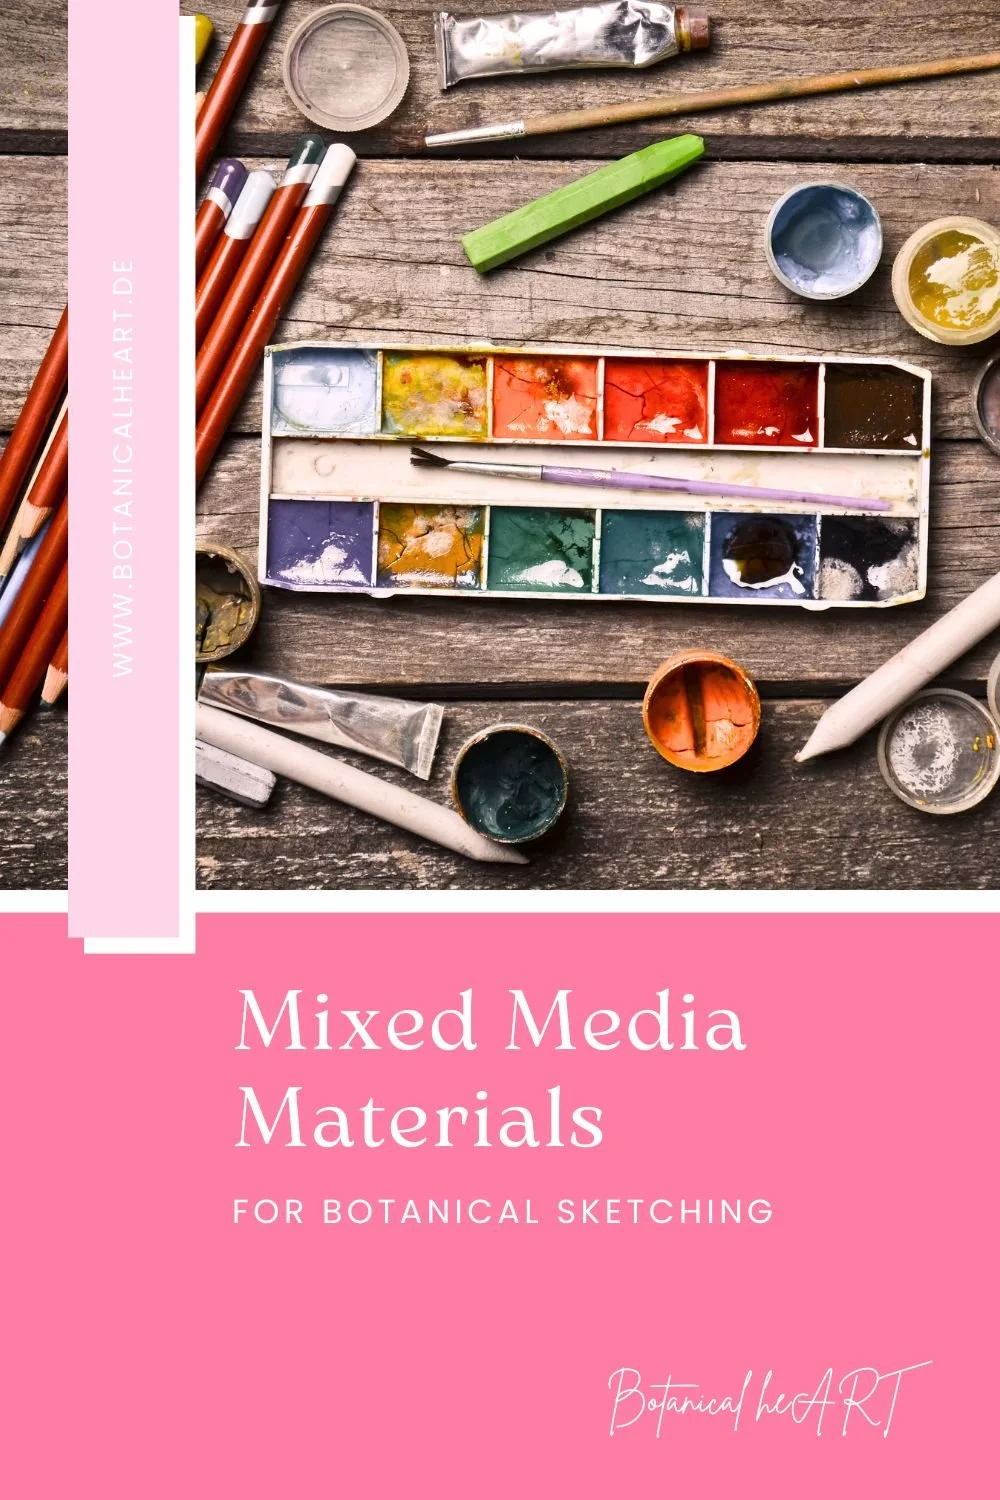
Mixed Media Materials for Botanical Sketching
When you start with botanical sketching, sooner or later a question comes up that almost everyone asks:
“What do I actually need for this?”
The answers couldn’t be more different. Some people work exclusively with watercolor, others swear by fineliners. Still others combine colored pencils, markers, ink, and everything in between. The choice is huge and especially at the beginning, it can quickly create the feeling that you have “too little” or the “wrong” materials.
The good news: for mixed media, you don’t need much and it certainly doesn’t have to be perfectly coordinated.
It’s much more about finding a small selection of materials that bring you joy and work well together. Mixed media is a playful way of combining techniques without making things complicated.
This article gives you a calm overview of what makes sense, what you can start with, and how the materials support one another.
Why Mixed Media works so well
At first, mixed media sounds like “a lot,” but it actually means the opposite:
You use what feels natural to you and combine it in a way that supports your process.
Many people start with a simple pencil and add color later. Others begin with watercolor and then introduce a few lines for structure.
Mixed media gives you wonderful freedom: you can work in layers, pause at any time, emphasize or soften areas without losing clarity or expression.
For beginners, this is ideal. You’re not tied to one technique, and you don’t have to worry about “ruining” a drawing.
1. Basic Supplies – Making it easy to start
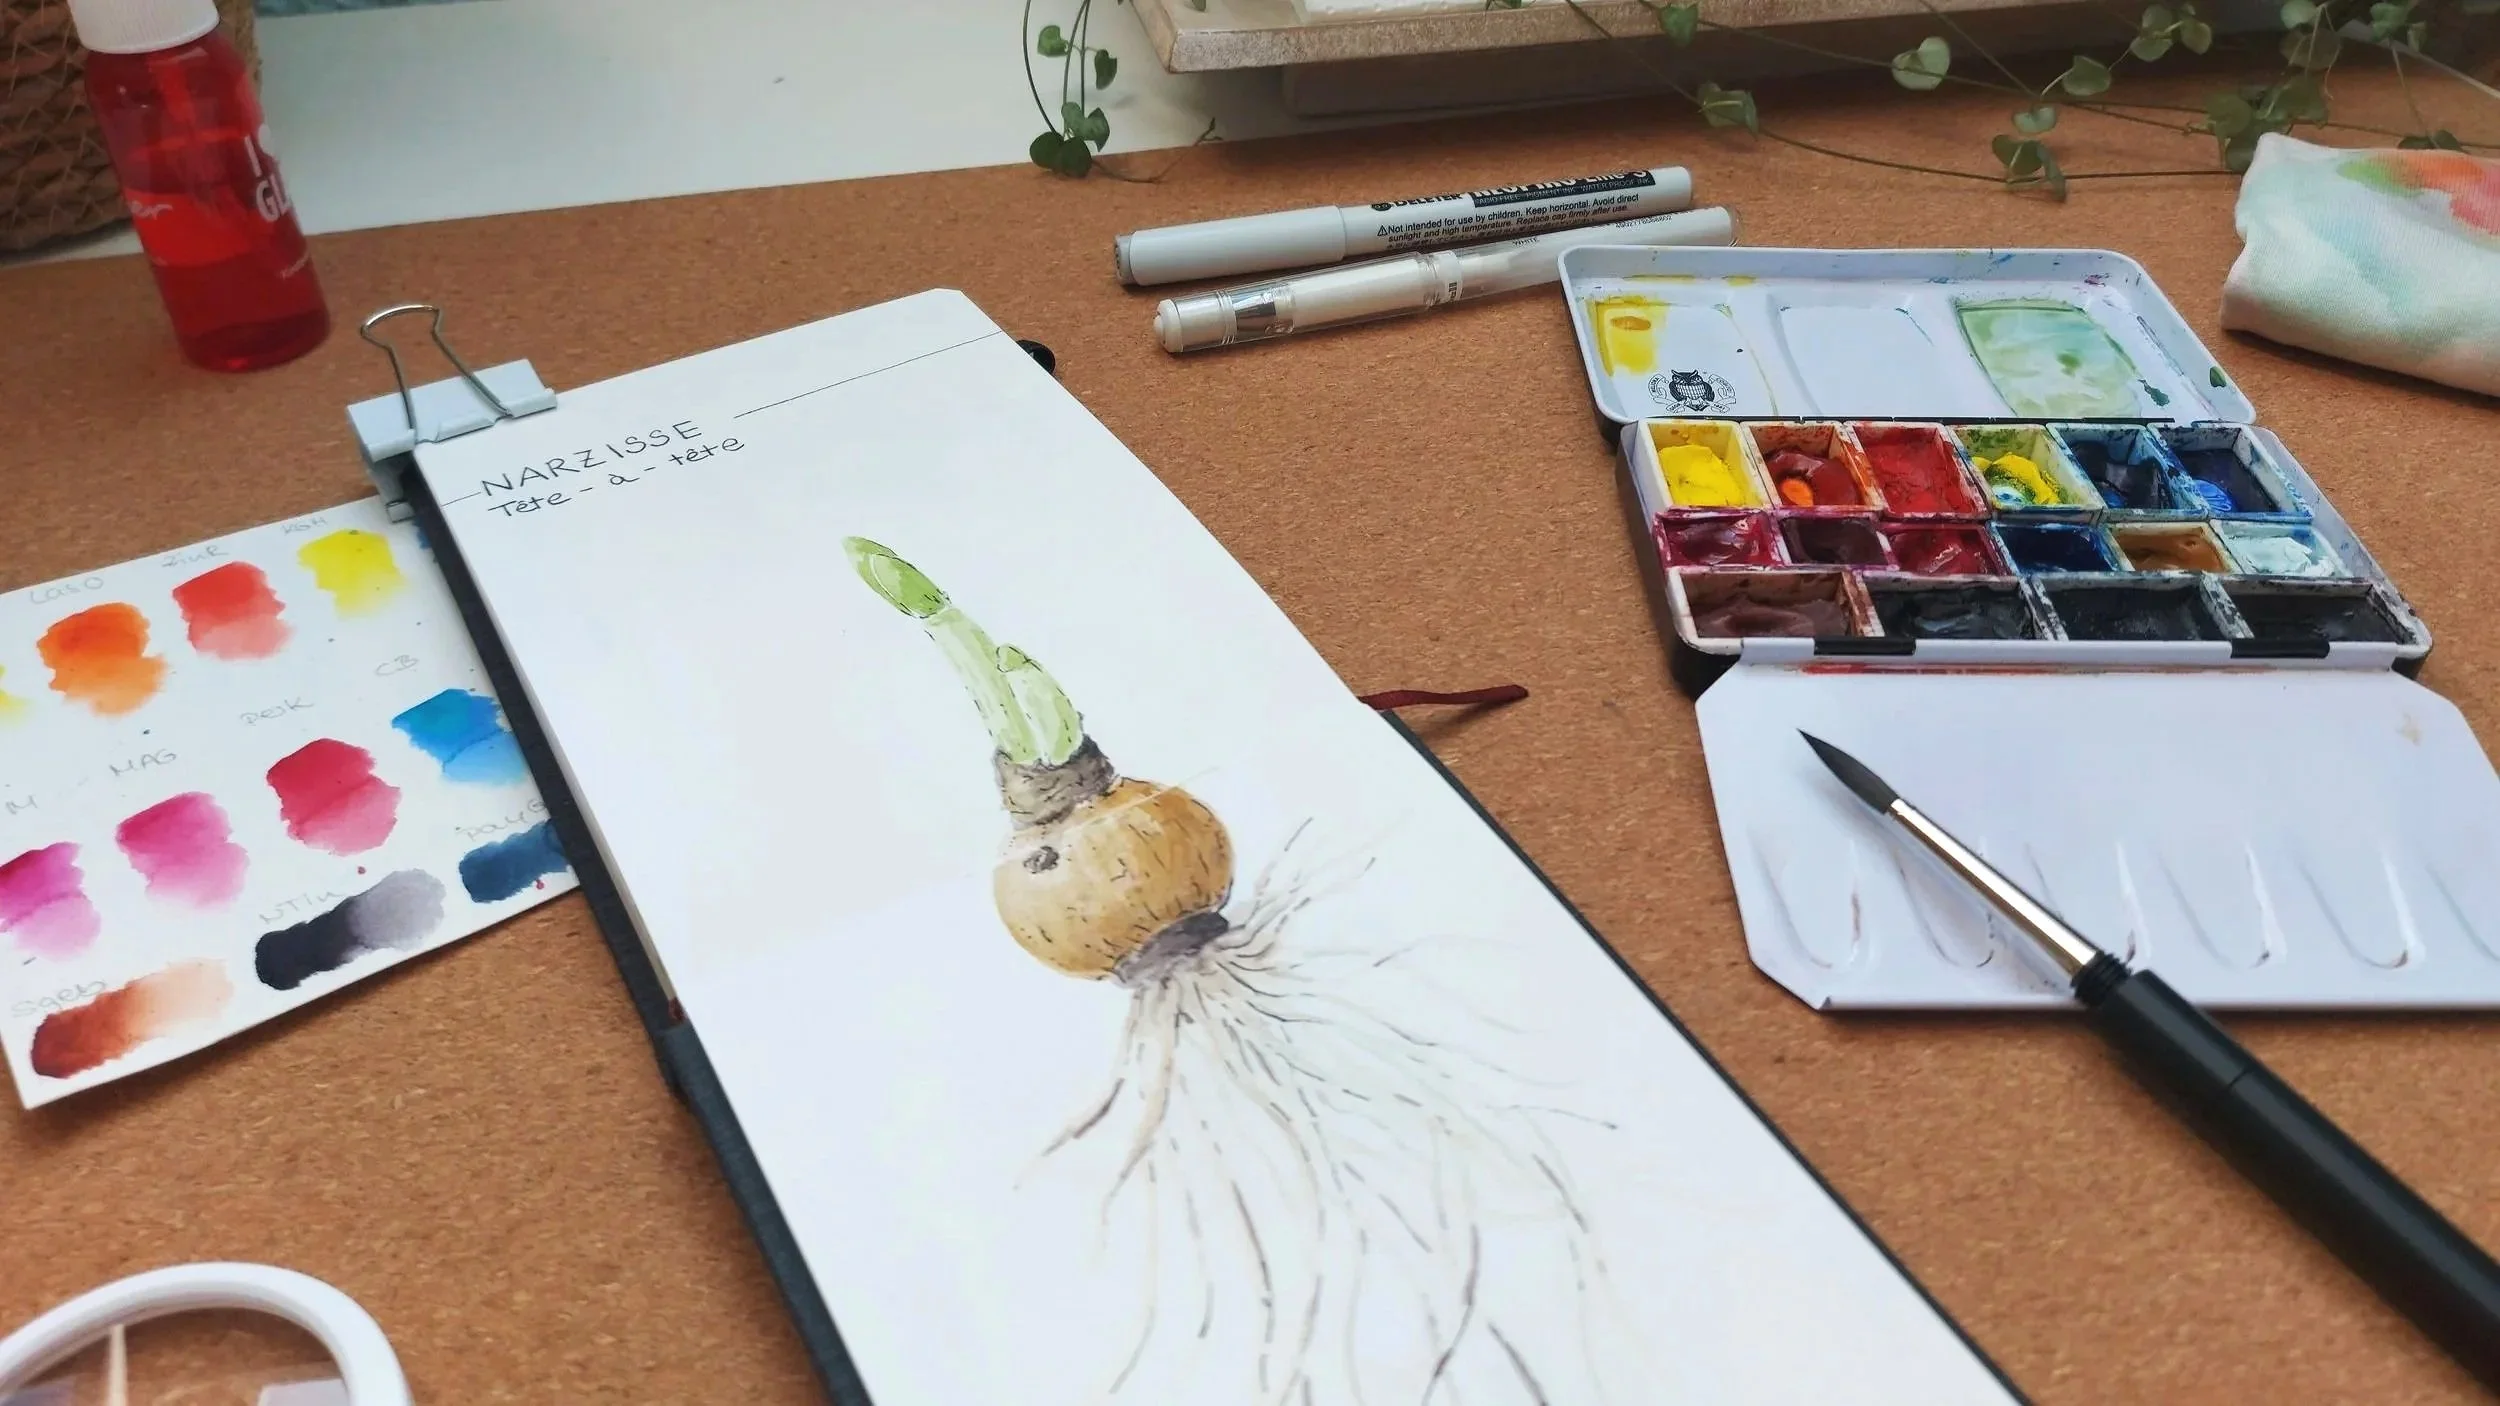
Paper or Sketchbook
For mixed media, it’s worth choosing paper that can handle a bit of water while still being smooth enough for pens to glide over. Light watercolor paper or mixed-media paper works very well. Many people like spiral bindings because the pages lie flat, but that’s not essential.
Here you can find more about sketchbooks.
Pencil & Eraser
A simple HB or 2B pencil is a reliable starting point. You can use it to suggest shapes, make decisions, or discard them again. A soft eraser or kneaded eraser is also helpful because it’s gentle on the paper while still correcting well.
My recommendations:
Pencil: Faber Castell 9000 - HB
Eraser pen: Tombow Mono Zero
Plastic eraser: Staedtler Mars plastic
Kneadable eraser: Faber Castell Art eraser
Fineliner or Waterproof Ink
If you enjoy clear lines, a waterproof fineliner in black or sepia is a wonderful addition, especially if you plan to add watercolor later.
Sakura Pigma Micron or Staedtler Pigmentliners work reliably and are easily available. A fountain pen with waterproof ink can also be a lovely option if you prefer working with liquid ink.
Read more here about my preferred inks.
Watercolors & Brushes
For botanical sketches, a small, manageable palette is more than enough: warm and cool tones of yellow, red and blue. With these, you can mix almost anything.
A round brush in size 6 is a great all-rounder, synthetic brushes are absolutely sufficient, e.g. brushes by daVinci.
A water jar and a soft cloth naturally belong in the mix as well.
Here you’ll find more information about building your personal watercolor palette and choosing the right brush.
2. Additional materials – nice to have, not a must
If you feel like experimenting more over time, you can gradually expand your supplies.
Colored pencils are wonderful for small details or leaf veins, brush pens (for example, from Tombow) work well for quick color accents or sketches on the go.
Gel pens can add light highlights but should be used sparingly. And if you love lines, you might eventually discover ink and nibs for yourself.
A few personal underdogs I truly love are wax crayons. They almost force you to let go and focus on the process.
But again: absolutely not a necessity.
3. How Mixed Media works in practice
Mixed media doesn’t mean using as many materials as possible at once. Instead, a sketch develops in layers that support one another.
A simple workflow often looks like this:
You begin with a light pencil sketch for orientation. Then you add lines, either with a fineliner or a fountain pen. After that, color comes into play. Once everything is dry, you can use colored pencils to emphasize small textures.
If you like, you can finish with tiny highlights using a gel pen.
You’ll quickly notice how flexible this process is. You can stop at any point, add something, simplify, or start over.
4. Tips for choosing materials with ease
It helps to begin with what you already own. There’s no need to buy anything “perfect.”
Often, it’s only through doing that you discover which materials truly bring you joy and which tend to slow you down. Expensive brands aren’t necessary; what matters more is that the materials suit your way of working.
And perhaps the most important point:
Your style doesn’t emerge from a complete list of tools. It grows out of what you love using most. That’s where recognizability begins.
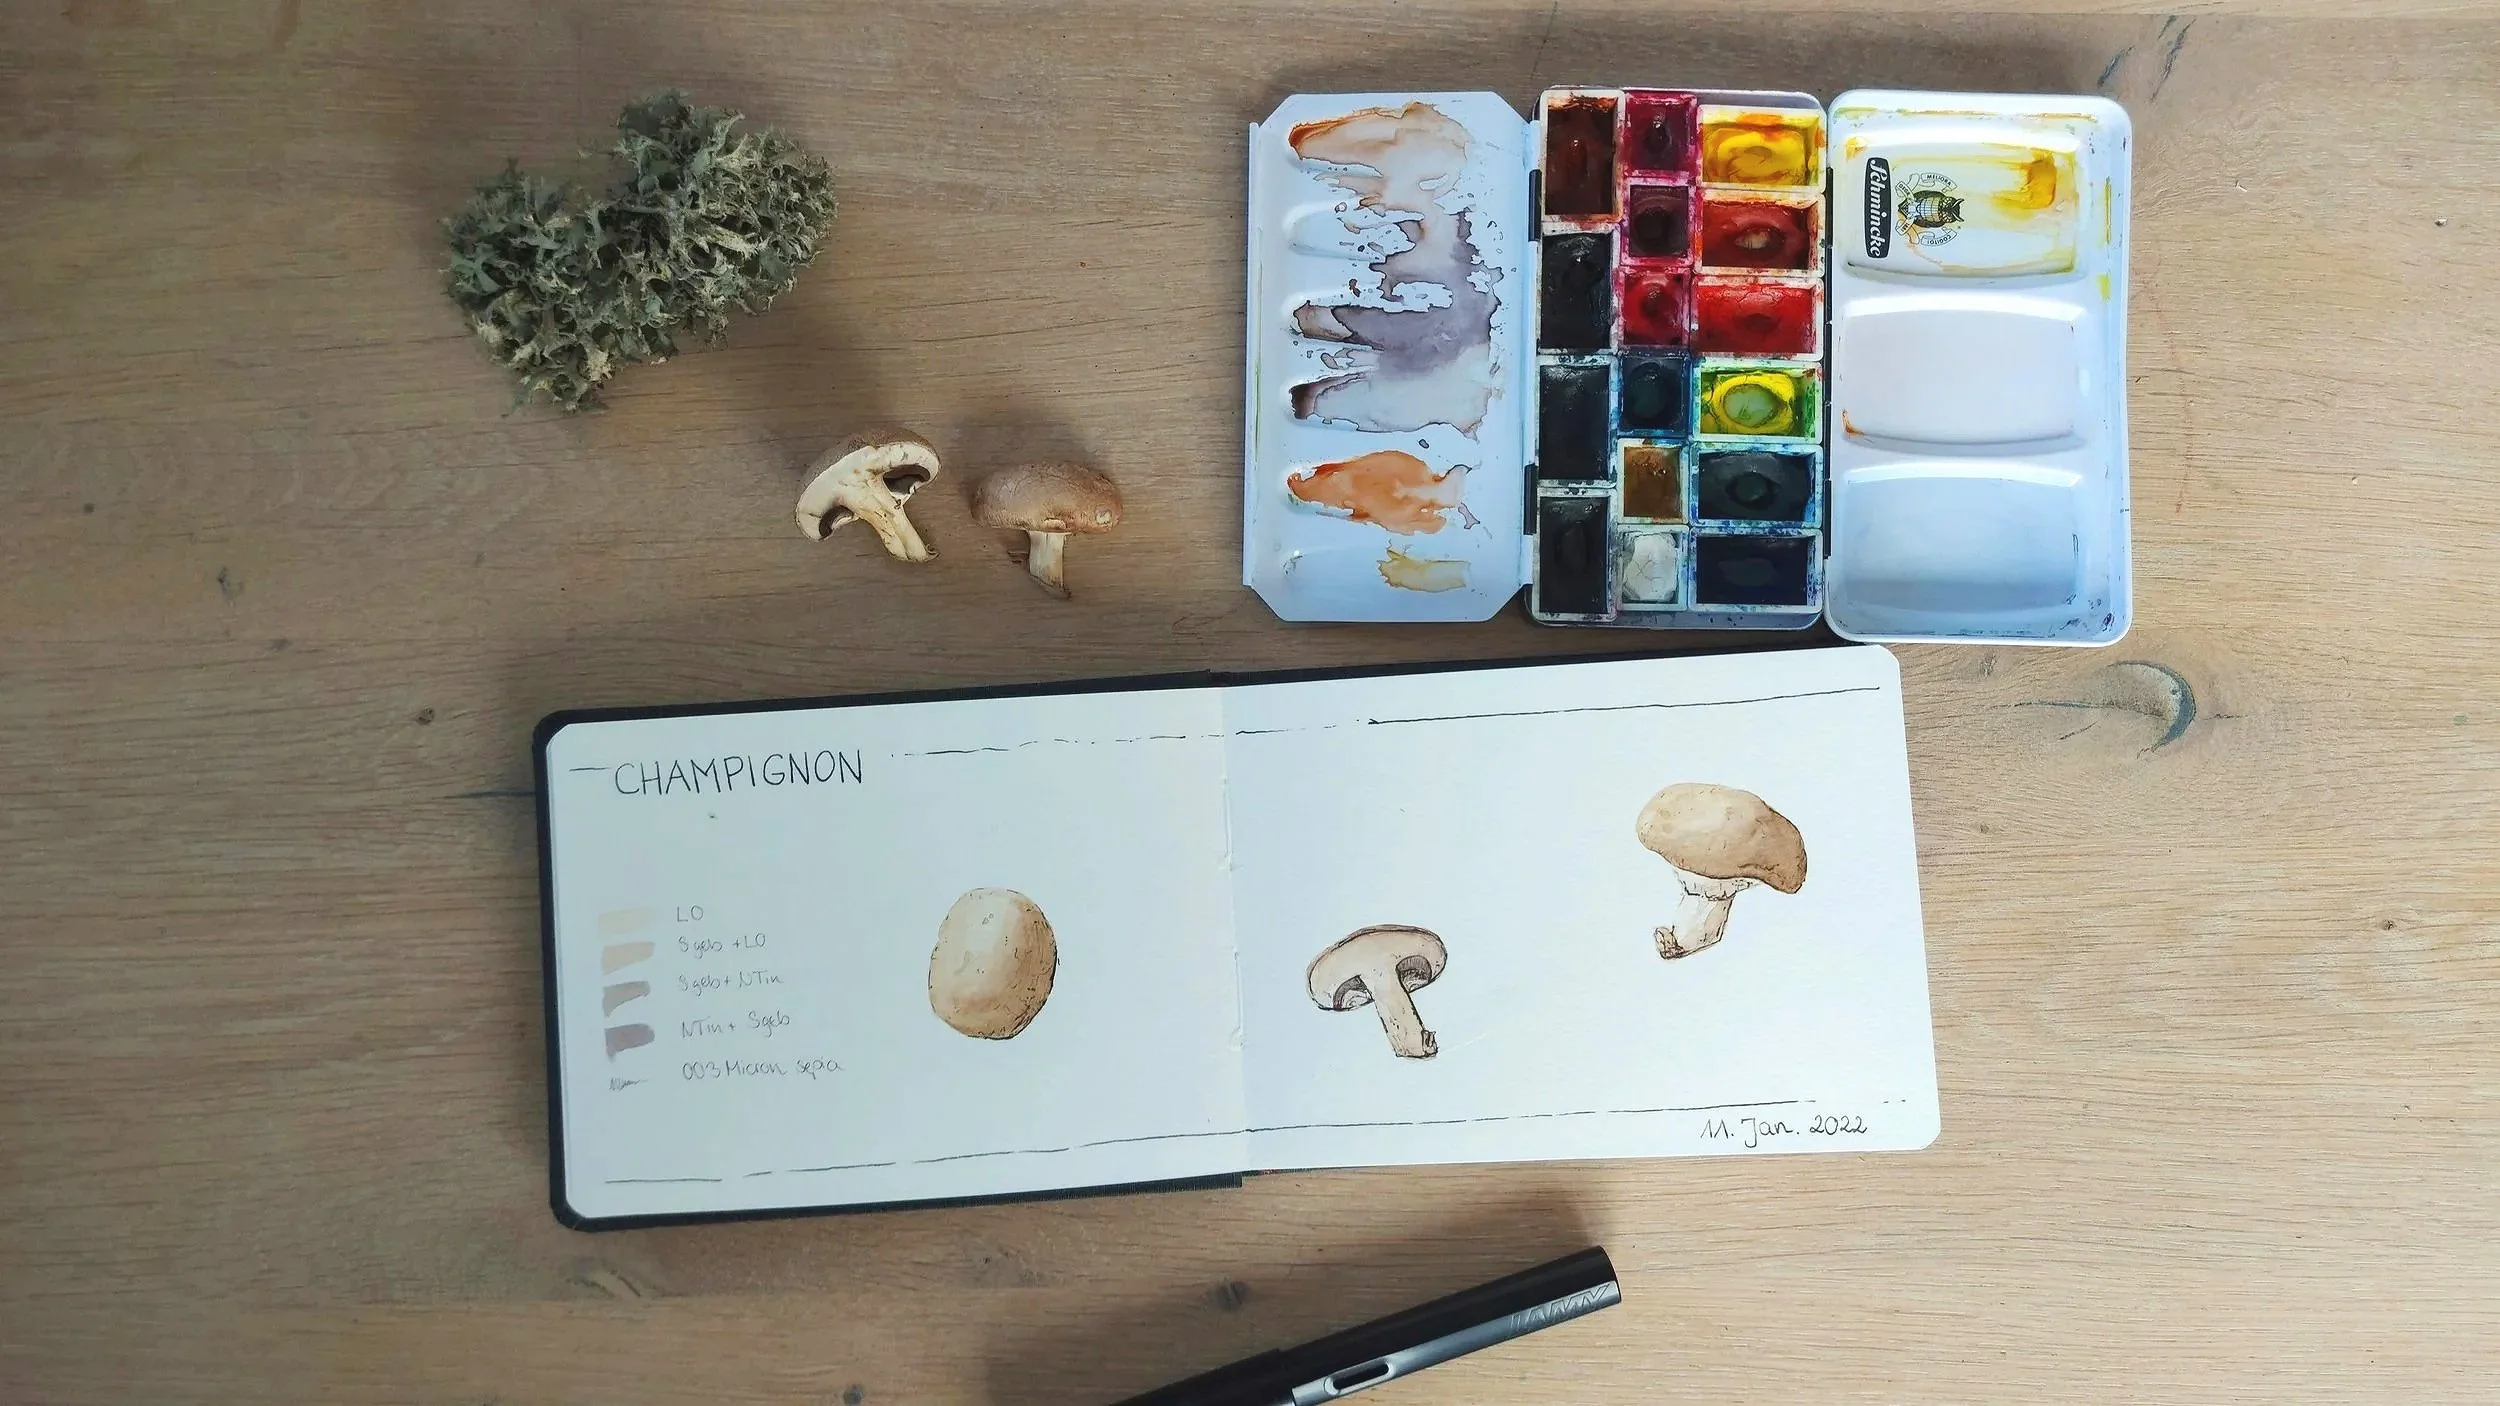
5. Mini exercise: The Three-Material Sketch
For this exercise, all you need is a small botanical object, a bud or a small twig, for example.
Sketch the shape loosely with a pencil. Then add a few clear lines with a fineliner, and finish with a touch of color. One single hue is completely enough.
This way, you immediately feel how the materials interact without overwhelming yourself.
Key Takeaway
Mixed media is an easy, approachable way to begin botanical sketching. It takes away the pressure of mastering one technique perfectly and gives you a great deal of freedom instead.
You can start small, stay curious, and gradually discover how you like to combine color, lines, and texture.
The materials you truly need are manageable. Everything else grows over time and with every sketch, another small piece of your own visual language takes shape.
Pin this article on Pinterest!