Autumn time - Mushroom time
Mushrooms are a wonderfully simple and rewarding subject, especially for beginners in painting.
Why?
You can find button mushrooms year-round, not just in autumn.
Their shape is quite simple and instantly recognizable.
You’ll only need a few colors.
And mushrooms stay fresh for a few days without changing shape.
So, what could be more fitting than painting a mushroom together in our SketchVibes series?
Exactly — nothing!
Today, we’ll paint a button mushroom in watercolor — step by step, and completely relaxed
Grab a mushroom, get comfy, and take out your sketchbook — mushroom cream sauce comes later. 🍂
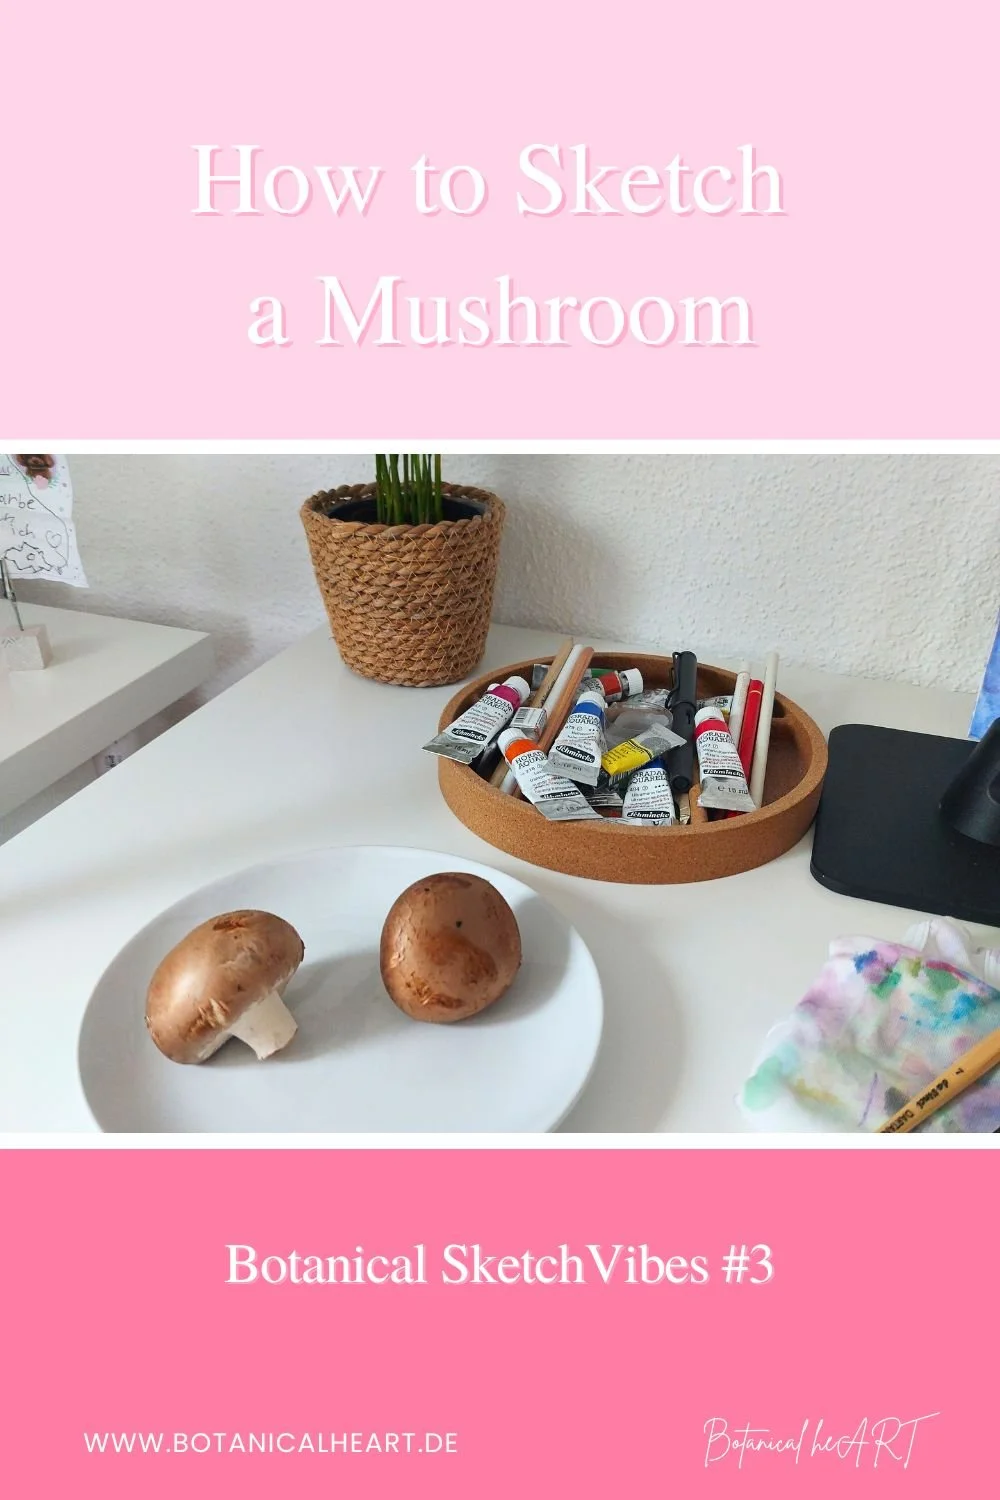
Materials - What you´ll need

One button mushroom (Champignon)
Watercolor paper or watercolor sketchbook (e.g., Clairefontaine Fontaine watercolor sketchbook)
Brushes
da Vinci Dartana Spin, size 7
da Vinci Cosmotop Spin, size 4 & size 0
👉 These three brushes came in a May & Berry set — maybe you have it at home, too!
Pencil (HB or B)
Eraser (e.g., Tombow Mono Zero and/or a plastic eraser)
Water jar, rag, ceramic palette or plate
Watercolors
Schmincke Horadam
667 Raw umber
653 Transparent sienna
478 Cobal blue light
Winsor & Newton
507 Perylene maroon
💡 Tipp: You don’t need these exact shades — just use whatever comes closest to your mushroom.
What matters are warm browns and cool shadow tones. You can also mix brown and blue to create depth.
Vorbereitung
Find a spot with good light where you can work with focus.
Lay out your materials and place your mushroom so you can observe it closely.
Let´s sketch!
Step 1: Capture the shape
Start with a light pencil sketch — mine looks darker in the photos so you can see it better.
Take a close look at your mushroom: it basically consists of two main shapes:
An oval cap, slightly curved downward.
A short, cylindrical stem, sitting right in the middle beneath the cap.
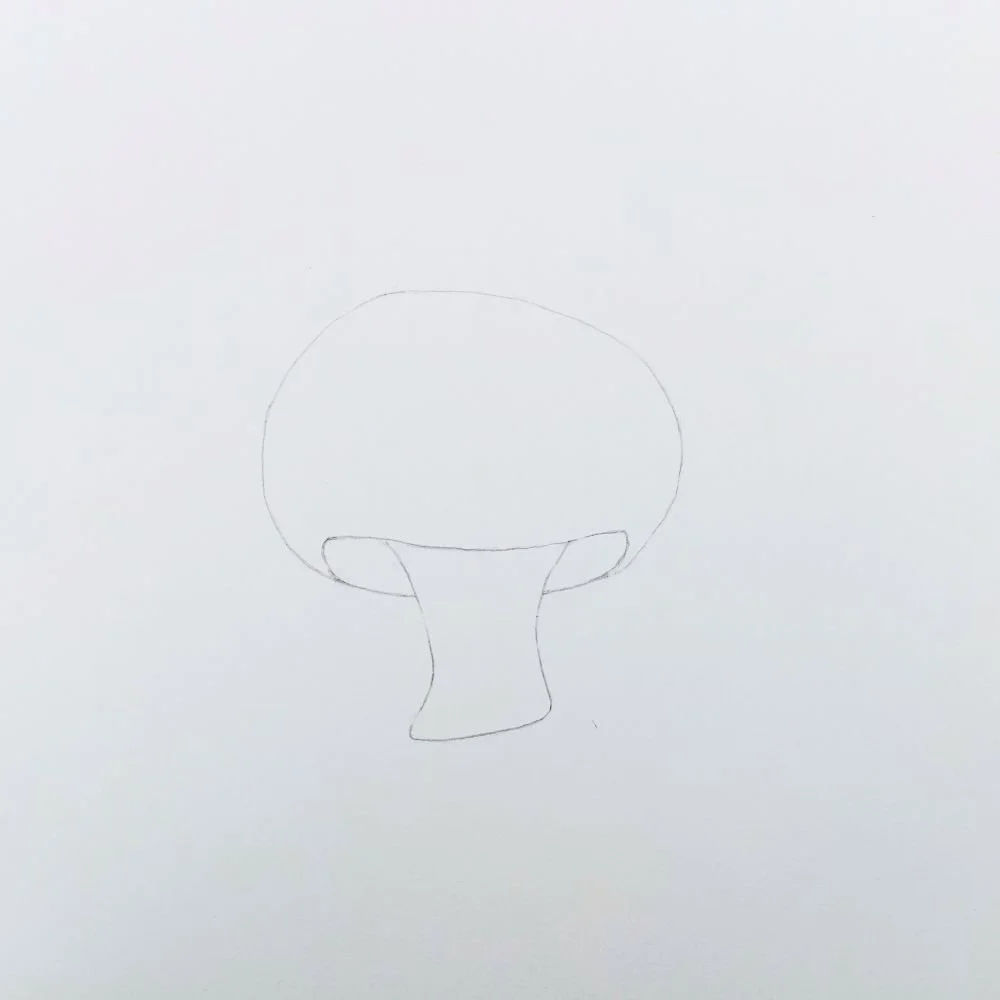
Pencil sketch of a mushroom
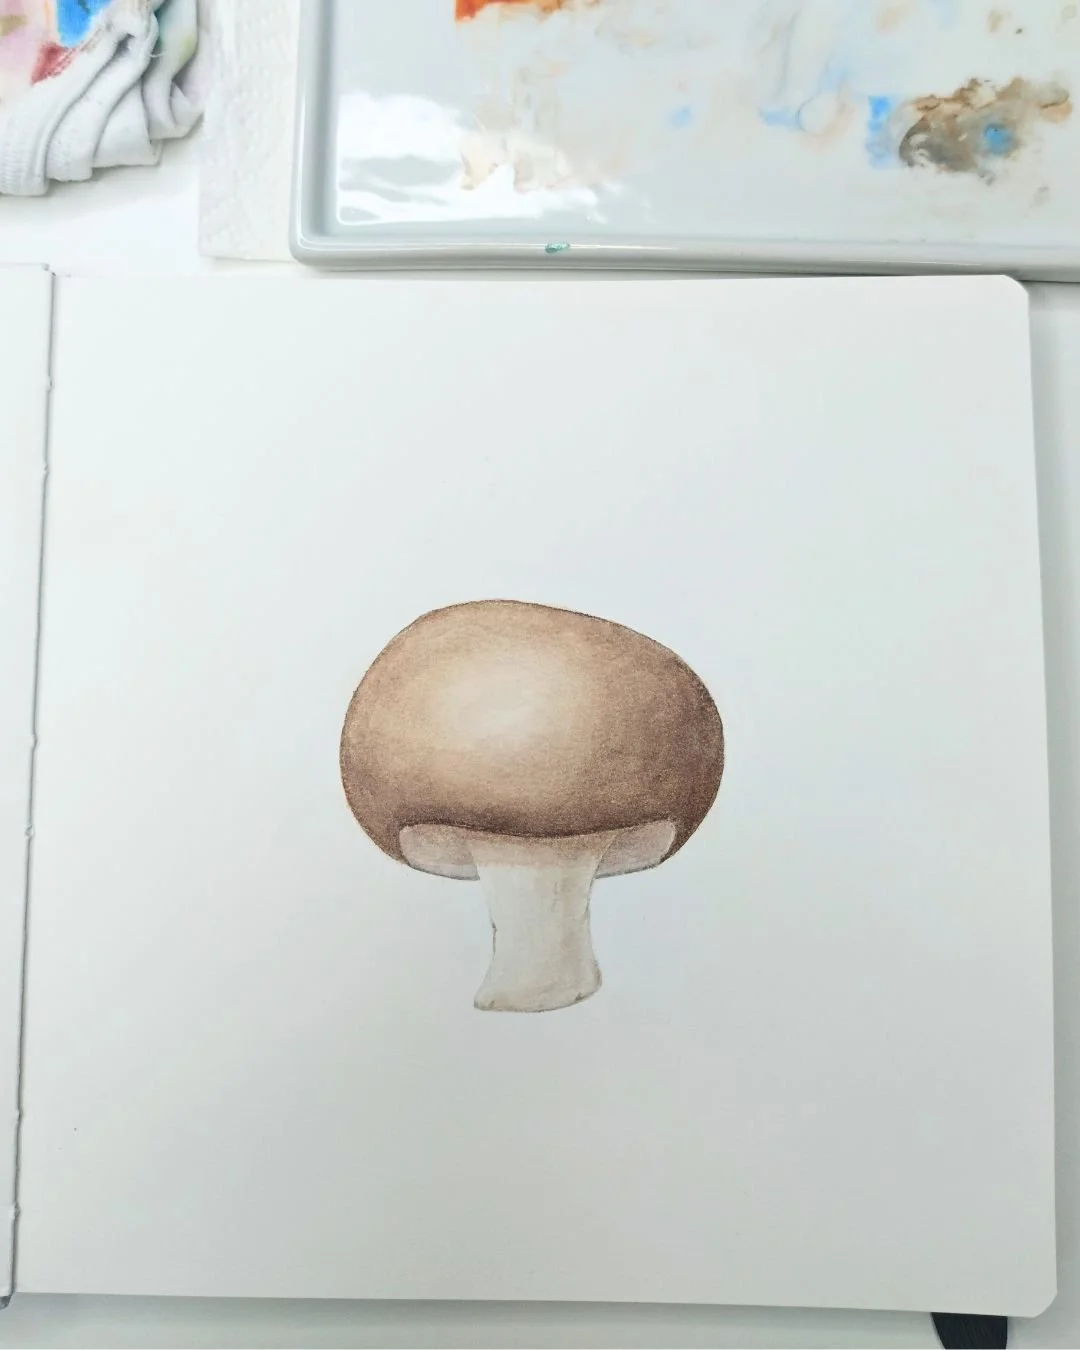
Step 2: First color layers
Mix Raw umber, Transparent sienna, and Cobalt blue light.
You can either dampen the area with clean water first or go straight in with color.
The shape is small enough that both methods work fine.
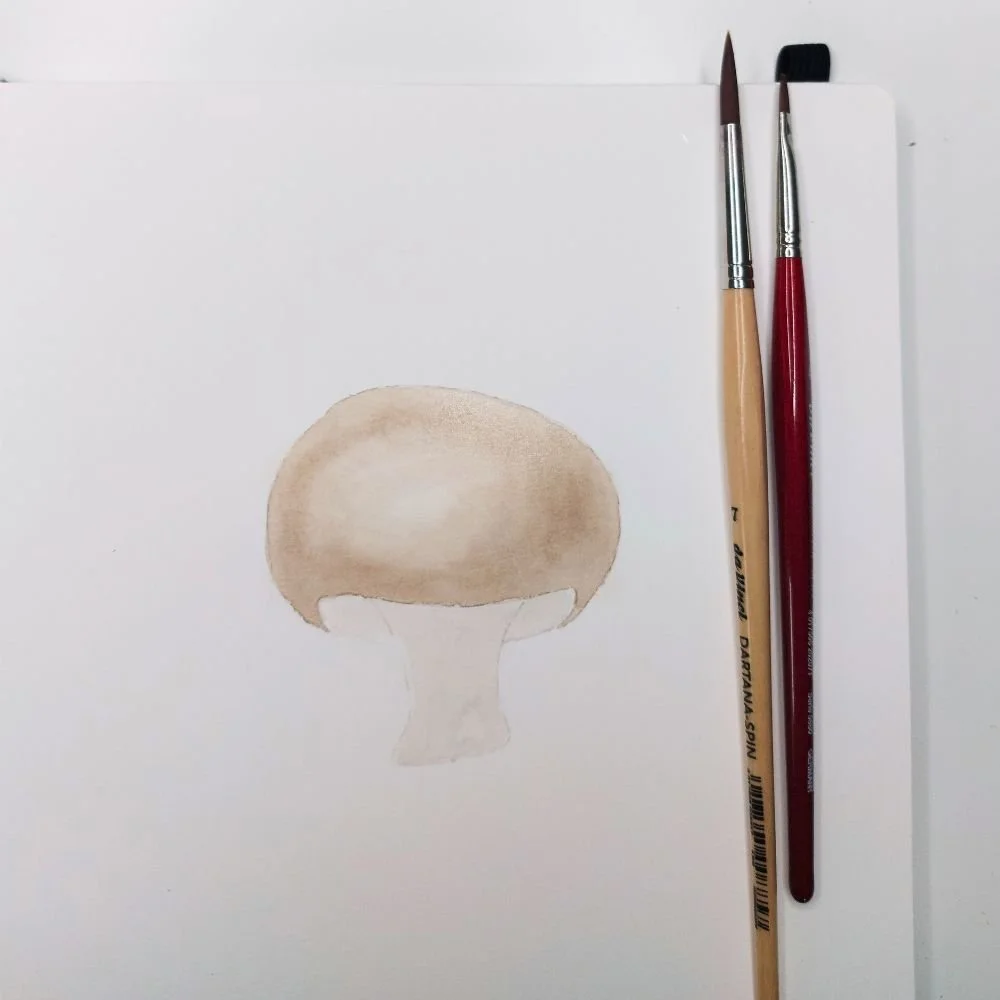
Mushroom - First layer of color
Pay attention to where the light falls — keep those areas very light.
Then move on to the stem.
For this, mix Raw umber and Transparent sienna again, but add more Cobalt blue light and dilute with plenty of water.
That will give you a lovely pale beige.
💡 Tip: Be careful not to let the stem color bleed into the cap if the cap is still wet.
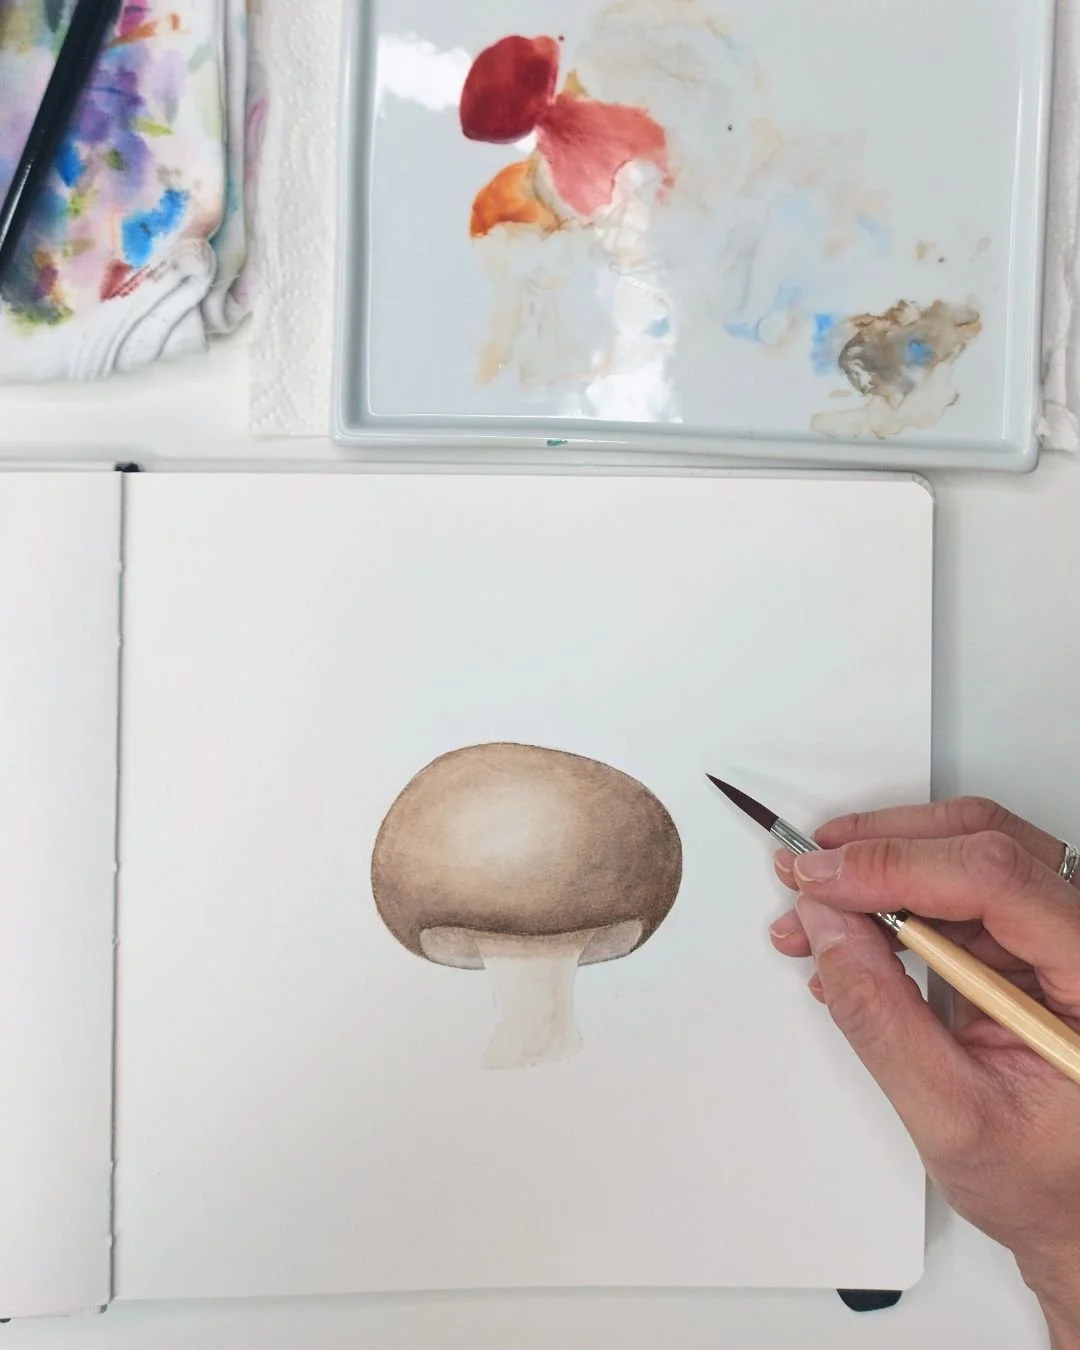
Step 3: Building depth
Now let’s intensify the cap color:
If your first mix turned out quite light, make the same mix but with more pigment and less water.
Work in layers:
let each one dry before adding another,
repeating until you’re happy with the depth.
Depending on how wet the paper is, you’ll get either smooth transitions or crisp edges — both can be beautiful, so go with the look you like best.
Want a warmer tone? Add a touch of Perylene maroon for a subtle reddish hue.
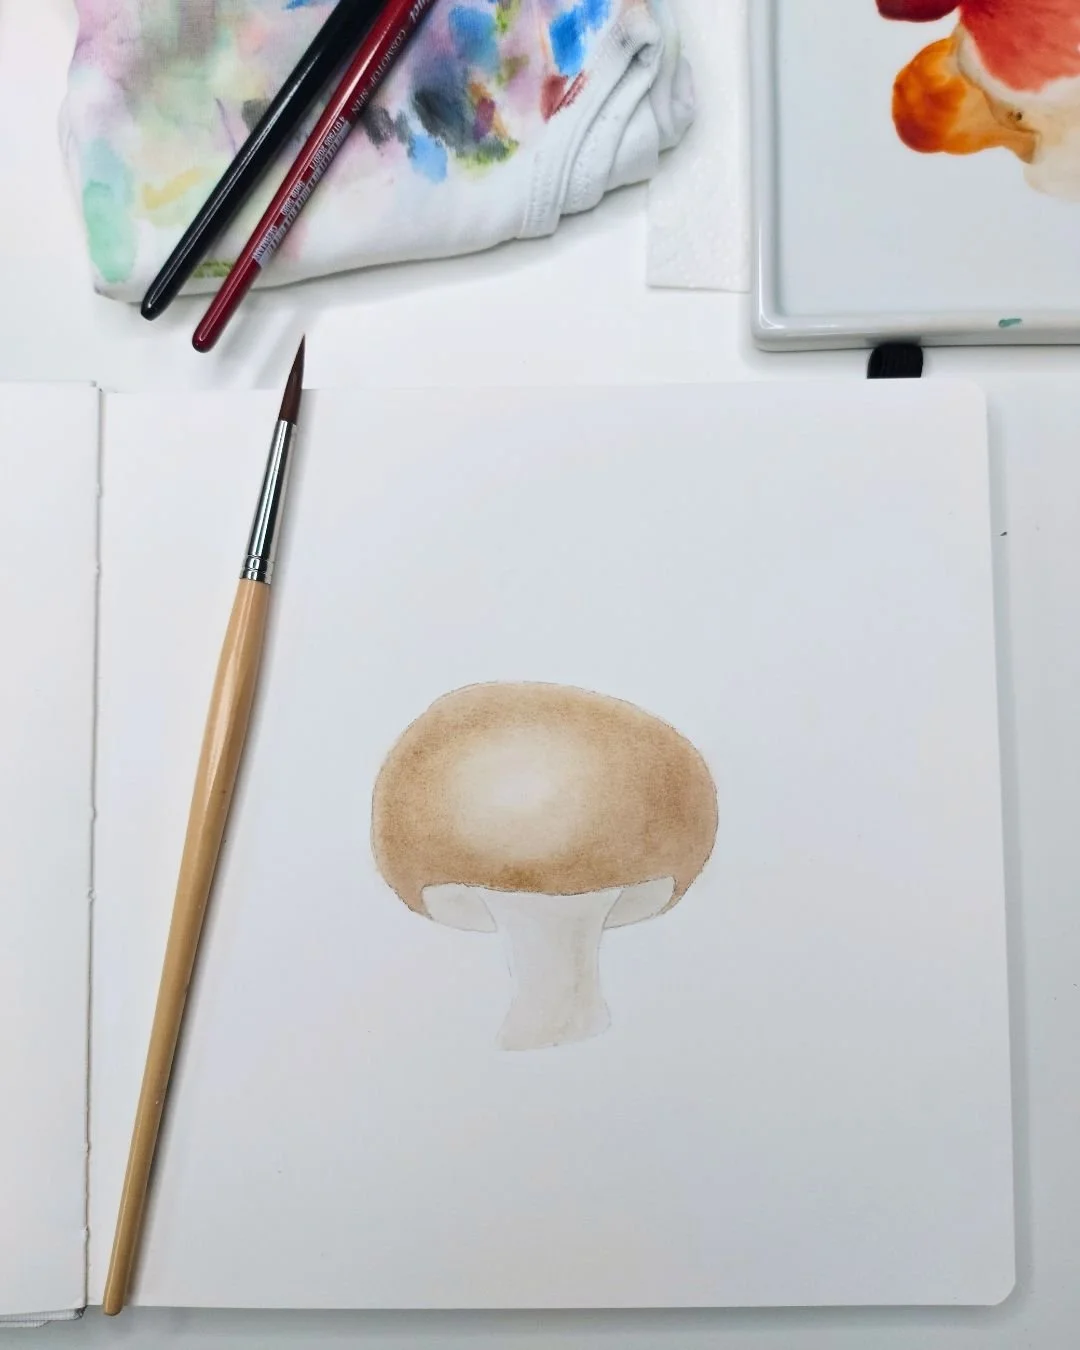
Second layer of color - Mushroom
Step 4: Adding shadows
Because of the mushroom’s shape, it makes sense to add cast shadows under the cap.
For this, I mixed Cobalt blue light, Raw umber, Perylene maroon, and water.
Keep the mix very light — better to build up shadows gradually than go too dark right away.
Painting the shadow
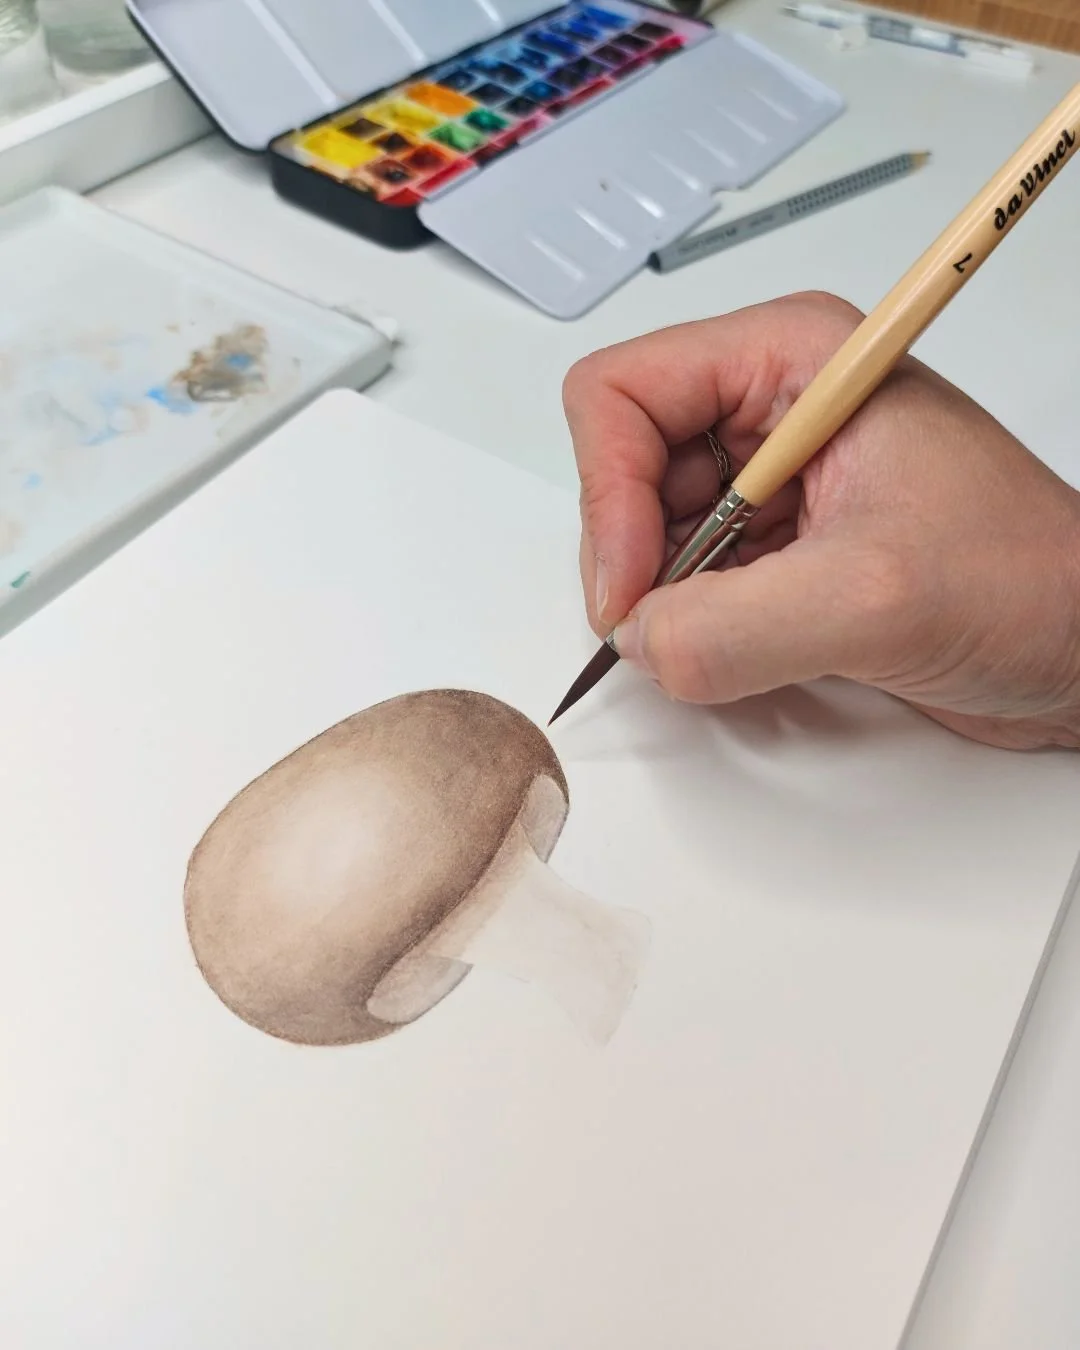
Clean-up the edges
Step 5: Final touches
Happy with the overall look?
Depicting some final details
If you’d like to add a bit more, you could:
Write or paint the name of the mushroom.
Sketch a small illustration of a mushroom dissaction next to it (makes your sketchbook feel like a nature diary!).
Add notes about your sketch, e.g., the color mixes you used.
Highlight specific features of your mushroom, like little notches on the stem.
🍄 Woohoo!
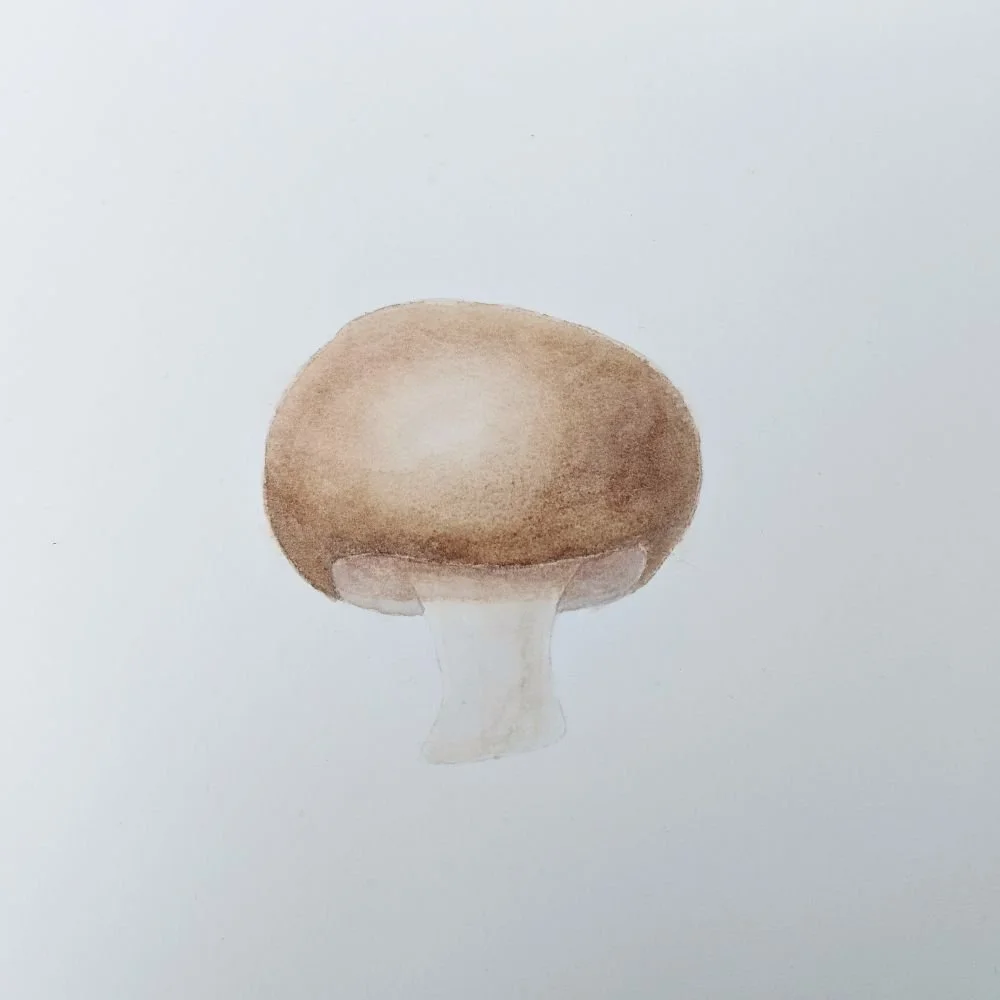
Congratulations on your mushroom artwork!
No matter what time of year this tutorial finds you, mushrooms are always around.
But if you’re reading this during mushroom season, maybe it’s the perfect excuse to bring your next forest walk straight into your sketchbook. 🌳
The final artwork!
Save this article on Pinterest!
And if you’re in the mood for more subjects, check out my tutorials for an Avocado 🥑 or a slice of Watermelon 🍉!


